Beginner Woodworking Projects to Decorate Your Home
Beginner Woodworking Projects to Decorate Your Home
Hey there, woodworking enthusiast! Ready to transform your home with your own handcrafted creations? You don't need to be a seasoned pro to create beautiful and functional pieces. In fact, woodworking is a fantastic hobby for beginners, offering a sense of accomplishment and a unique way to personalize your space.
Today, we're going to dive into some beginner-friendly woodworking projects that are perfect for sprucing up your home. These projects are designed to be easy to follow, requiring basic tools and materials that you can find at most hardware stores. So grab your hammer, saw, and a sprinkle of creativity, and let's get started!
Simple and Stylish Shelves
Floating shelves are a fantastic way to add storage and visual interest to your walls. They're super versatile and can be used in any room, from your living room to your kitchen or even your bathroom. The best part? They're surprisingly easy to make!
What You'll Need:
- Wood boards (pine, oak, or maple work well)
- Wood stain or paint (optional)
- Screws
- Measuring tape
- Level
- Drill
- Saw (circular saw or jigsaw)
- Sandpaper
Let's Build:
- Measure and cut: Determine the size and number of shelves you need. Use your saw to cut the boards to the desired length and width.
- Sand the edges: Smooth out any rough edges with sandpaper. This will ensure a clean and polished look.
- Apply stain or paint (optional): If you want to add color or a unique finish, apply stain or paint to the shelves. Let it dry completely before moving on.
- Mark and drill mounting holes: Use a pencil to mark the location of the mounting brackets on the wall. Drill pilot holes at the marked locations to make installing the screws easier.
- Install the mounting brackets: Secure the brackets to the wall using screws. Make sure they are level and securely attached.
- Slide the shelves onto the brackets: Carefully slide the shelves onto the brackets, ensuring they are level and stable.
Voilà ! Your shelves are ready to display your favorite books, plants, or decorative items. Remember, you can personalize these shelves with different sizes, shapes, and finishes to suit your style.
Rustic Wooden Coasters
Who doesn't love a good set of coasters? They protect your furniture from unsightly rings and add a touch of personality to your coffee table. This project is a great way to utilize leftover wood scraps or even repurposed materials.
What You'll Need:
- Small pieces of wood (approximately 4 inches in diameter)
- Sandpaper
- Wood glue (optional)
- Felt pads
- Wood stain or paint (optional)
Let's Build:
- Cut and sand: Cut your wood pieces into circles using a jigsaw or a coping saw. Sand the edges and surfaces smooth to ensure a comfortable feel.
- Apply wood glue (optional): If you're using thin pieces of wood, you can add extra stability by applying wood glue to the underside of each coaster before attaching the felt pads.
- Attach the felt pads: Apply a small amount of wood glue or a strong adhesive to the back of each felt pad and press it onto the underside of the coaster. Make sure the pads are centered.
- Stain or paint (optional): Add a personal touch by staining or painting your coasters. Allow the finish to dry completely before using them.
Your rustic coasters are ready to add a touch of warmth and charm to your coffee table or bar. Experiment with different wood types and finishes to create a unique set that reflects your style.
Easy-to-Make Wooden Wall Decor
Transform plain walls into stunning focal points with simple wooden wall art. You can create abstract designs, geometric patterns, or even personalized messages for a truly unique touch.
What You'll Need:
- Wood pieces (various sizes and shapes)
- Sandpaper
- Wood glue
- Wood stain or paint (optional)
- Mounting tape or adhesive
Let's Build:
- Cut and sand: Cut your wood pieces into various sizes and shapes. You can use a jigsaw, handsaw, or even a scroll saw for intricate designs. Sand the edges smooth.
- Arrange and glue: Create your desired design by arranging the wood pieces on a flat surface. Once you're satisfied, use wood glue to secure the pieces together.
- Apply stain or paint (optional): Give your wall art a cohesive look by applying stain or paint. Let it dry completely before proceeding.
- Attach to the wall: Use mounting tape or adhesive to securely attach the wall art to your chosen location.
Voilà ! You've created a stunning piece of wooden wall art that complements your home décor. Get creative with shapes, colors, and textures to make a statement.
Beyond the Basics: Woodworking for Beginners
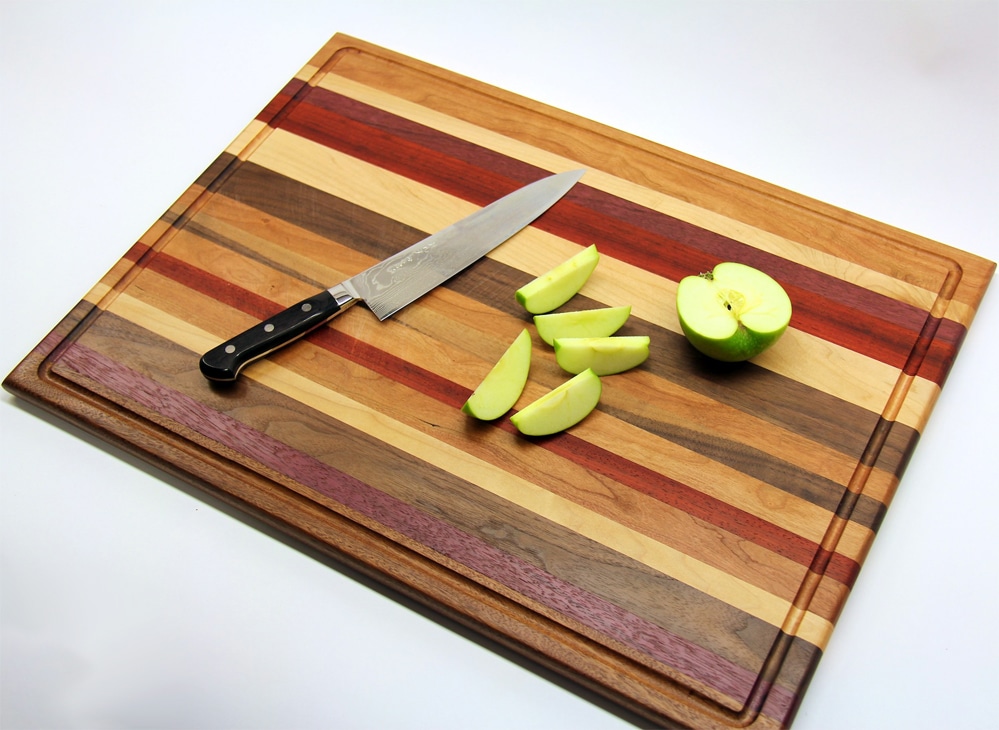
These projects are just a taste of what you can achieve with a little bit of woodworking knowledge and practice. As you become more comfortable, you can explore other exciting projects, like building a small wooden stool, crafting a decorative box, or creating a personalized cutting board.
Remember, practice makes perfect. Don't be afraid to experiment and learn from your mistakes. The beauty of woodworking is that you can always try again and refine your skills.
Here are some additional tips for beginner woodworkers:
- Start small: Choose projects that are manageable in size and complexity.
- Focus on safety: Always wear eye protection and use appropriate safety gear when working with tools.
- Invest in quality tools: While you can start with basic tools, investing in high-quality tools will make your woodworking experience more enjoyable and efficient.
- Join a woodworking community: Connect with other woodworkers online or in person to share ideas, get advice, and learn from each other.
- Have fun! Woodworking should be a rewarding and enjoyable experience. Don't be afraid to get creative and let your imagination run wild.
So, what are you waiting for? Pick up those tools, unleash your creativity, and start crafting beautiful woodworking projects that will transform your home. Happy building!


0 comments :
Post a Comment
Note: Only a member of this blog may post a comment.