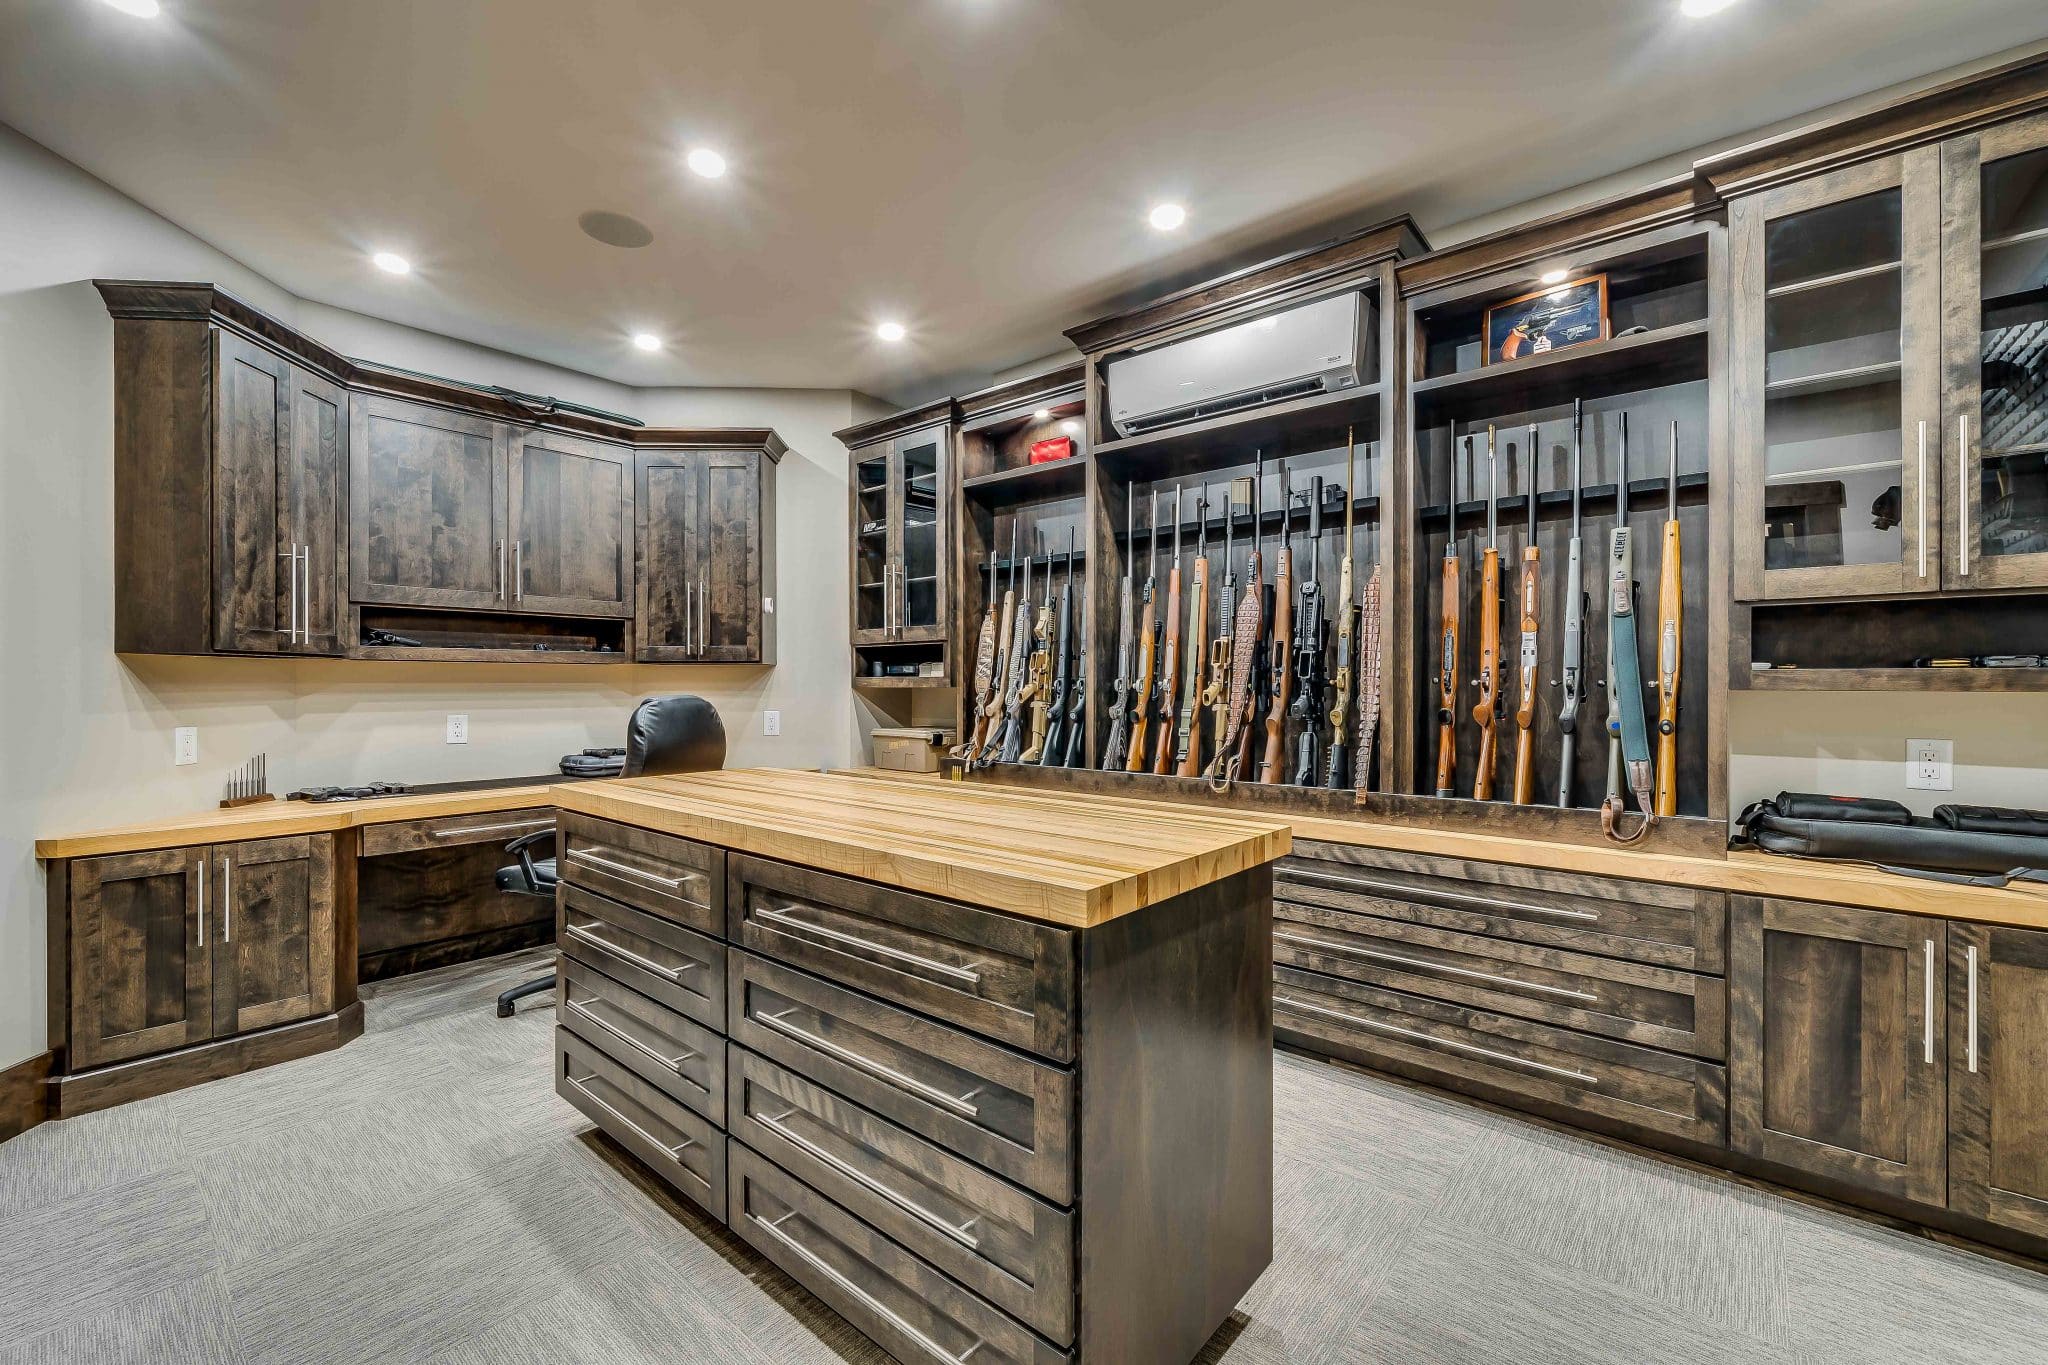
How to build an in-wall gun cabinet with a built-in security system

Building an In-Wall Gun Cabinet with a Built-in Security System
Ensuring the safe and secure storage of firearms is paramount for responsible gun owners. An in-wall gun cabinet offers a discreet and highly secure solution for storing your firearms while seamlessly integrating into your home's aesthetic. This comprehensive guide will provide you with a step-by-step process for constructing an in-wall gun cabinet, incorporating a robust security system for enhanced protection.
Planning and Design
Determine Location and Size
The first step is to select a suitable location for your in-wall gun cabinet. Consider factors such as:
- Accessibility: Choose a location that is convenient for you but not easily accessible to unauthorized individuals.
- Structural Integrity: Ensure that the wall can support the weight of the cabinet and its contents.
- Aesthetics: The cabinet should blend seamlessly with the surrounding decor.
Once you've chosen the location, determine the desired dimensions of the cabinet. Account for the size and number of firearms you intend to store, along with any additional accessories.
Choose Materials
The choice of materials is crucial for both security and aesthetics. Consider the following:
- Cabinet Frame: Sturdy wood like oak, maple, or walnut is recommended for a durable and aesthetically pleasing frame.
- Doors and Panels: Solid hardwood or steel doors provide superior security. If using steel, ensure it is at least 1/4 inch thick.
- Shelving: Adjustable shelves made of wood or metal can accommodate firearms of varying sizes.
- Hardware: Heavy-duty hinges, locks, and latches are essential for preventing forced entry.
Security System Considerations
Integrate security features from the initial design stage. Consider:
- Locking Mechanism: Choose a high-quality, tamper-resistant lock with a robust locking mechanism. Consider options like biometric locks, electronic keypads, or multi-lock systems.
- Motion Sensors: Installing motion sensors inside the cabinet triggers an alarm if unauthorized access is detected.
- Remote Monitoring: Integrating the security system with a remote monitoring service provides real-time alerts and allows you to remotely control the cabinet.
Construction Process
Framing and Installation
1. Mark and Cut: Using your design plans, mark the wall where the cabinet will be installed. Measure and cut the cabinet frame components to size.
2. Assembly: Assemble the frame using strong wood glue and screws. Use reinforcing plates or metal brackets for added stability.
3. Installation: Secure the frame to the wall studs using heavy-duty screws and anchors, ensuring the cabinet is level and plumb.
4.Electrical Wiring (Optional): If you're incorporating an electronic security system, run the necessary electrical wiring to the cabinet location.
Door and Panel Installation
1. Cut and Install: Measure and cut the door and panel materials to size. Install the door frame and secure the panels to the frame using screws or rivets.
2. Install Hinges: Attach the door hinges to the door frame and cabinet frame using heavy-duty screws.
3. Install Lock: Mount the lock on the door frame and ensure it aligns with the strike plate on the cabinet frame.
Interior Fit-out
1. Shelving: Install shelves inside the cabinet, ensuring they are strong enough to support the weight of your firearms.
2. Lighting: Install LED lighting inside the cabinet for better visibility of the contents.
3. Cable Management: Organize any electrical wires or sensors within the cabinet using wire management systems.
Security System Integration
Choosing a System
Consider the following factors when selecting a security system:
- Type of Sensors: Choose motion sensors with a wide detection range to ensure maximum coverage.
- Control Panel: Select a user-friendly control panel that allows for easy programming and operation.
- Alarm Functionality: Ensure the system features multiple alert options, such as audible alarms, SMS notifications, or email alerts.
Installation
1. Install Sensors: Mount motion sensors inside the cabinet, aiming them to cover the entire space. Ensure they are positioned to avoid false alarms.
2. Connect to Control Panel: Wire the sensors and lock mechanism to the control panel according to the manufacturer's instructions.
3. Program System: Program the control panel to activate the sensors and alarm when the cabinet is opened.
4. Test and Monitor: Thoroughly test the entire system to ensure it functions correctly. Set up remote monitoring if desired.
Finishing and Maintenance
Finishing Touches
1. Painting or Staining: Paint or stain the cabinet frame and panels to match your home's decor.
2. Concealment: Use a discreet cover or disguise the cabinet to maintain a seamless aesthetic.
Maintenance
Regularly inspect the cabinet for any signs of wear and tear, particularly the locking mechanisms and hinges.
- Lubricate the lock mechanism and hinges to prevent corrosion and ensure smooth operation.
- Test the security system periodically to ensure it functions correctly.
- Inspect the wiring for any loose connections or damage.
- Replace worn-out parts as needed.
Conclusion
Constructing an in-wall gun cabinet with a built-in security system is a demanding but rewarding project. By following the steps outlined in this guide, you can create a highly secure and aesthetically pleasing storage solution for your firearms. Remember to prioritize safety, security, and adherence to local laws and regulations throughout the entire process.


0 comments :
Post a Comment
Note: Only a member of this blog may post a comment.