How to build a wooden toy box for kids
Alright, you want to build a wooden toy box for your little ones, huh? That's awesome! Not only will it be a super cool piece of furniture for their room, but you'll also have the satisfaction of making it yourself. Plus, think of all the fun stories you can tell your kids about how you built it!
Gather Your Supplies
First things first, let's gather all the tools and materials you'll need. You'll be surprised how simple it is to get everything:
Wood: You can choose from various types of wood, like pine, cedar, or plywood. Pine is a good, budget-friendly option. Get 1x4s for the sides, 1x12s for the top and bottom, and some 1x2s for the trim.
Wood Glue: This stuff is like magic for holding wood together. Get a good quality wood glue for strong bonds.
Wood Screws: You'll need a good variety of lengths for different parts of the box. Make sure they're long enough to go through the wood and into the next piece.
Screwdriver: Get a good one with a bit that fits your screws.
Measuring Tape: You don't want to end up with a lopsided box! Make sure your measurements are accurate.
Saw: A circular saw or a jigsaw will be your best friend for cutting the wood to size.
Safety Glasses: Protect your eyes, my friend. Woodworking can be a bit messy.
Sandpaper: This is important for smoothing out the edges and giving your box a nice finish.
Paint or Stain: This is optional but can really make your toy box stand out. Choose kid-friendly, non-toxic paint.
Finishing Touches: Maybe you want some fun knobs or hinges. Don't be afraid to get creative!
Step-by-Step Guide: Building Your Wooden Masterpiece
Now, let's get our hands dirty! Here's a step-by-step guide to building your wooden toy box:
1. Cutting the Wood: First, use your saw to cut the 1x4s for the sides of your toy box. Make sure all the sides are the same length. You'll also need to cut the 1x12s for the top and bottom of the box. These should be longer than the sides to create the lid and base.
2. Building the Sides: Apply a thin line of wood glue to the ends of two of your side pieces. Then, carefully align them and clamp them together. Let the glue dry for a few minutes before adding screws.
3. Creating the Box Base: Repeat the process with the other two side pieces. Once the glue is dry, you have the sides of your box. Now, measure the length of the sides and cut your 1x12 to that measurement. You can attach this piece with glue and screws to the bottom of the sides.
4. Building the Lid: For the lid, attach another 1x12 to the top of the sides. Just like before, use glue and screws for a strong connection. You can use clamps to keep the lid flush with the sides while the glue dries.
5. Adding Trim: Use 1x2s to make a frame around the lid. Measure the length and width of the lid, then cut the 1x2s accordingly. Glue and screw these to the lid, creating a raised edge.
6. Smoothing the Edges: Now, it's time to get out the sandpaper and give your box a smooth finish. Sand down all the edges and any rough spots. You can use different grit sandpaper to achieve a smooth, polished look.
7. Painting or Staining: Time to give your toy box a personality! You can paint it with fun colors, stain it for a natural look, or even leave it as it is with its natural wood tone. Make sure to choose kid-friendly paint if you're going the paint route.
8. Adding Hinges and Knobs: Attach hinges to the back of the lid and corresponding hinges to the side of the box. These will allow the lid to open and close. Now, you can get creative with knobs! You can add decorative knobs, simple round ones, or even just use wood screws.
9. Finishing Touches: You're almost done! Just give your box a final sanding and wipe down any dust. You can add a protective sealant like polyurethane if you want.
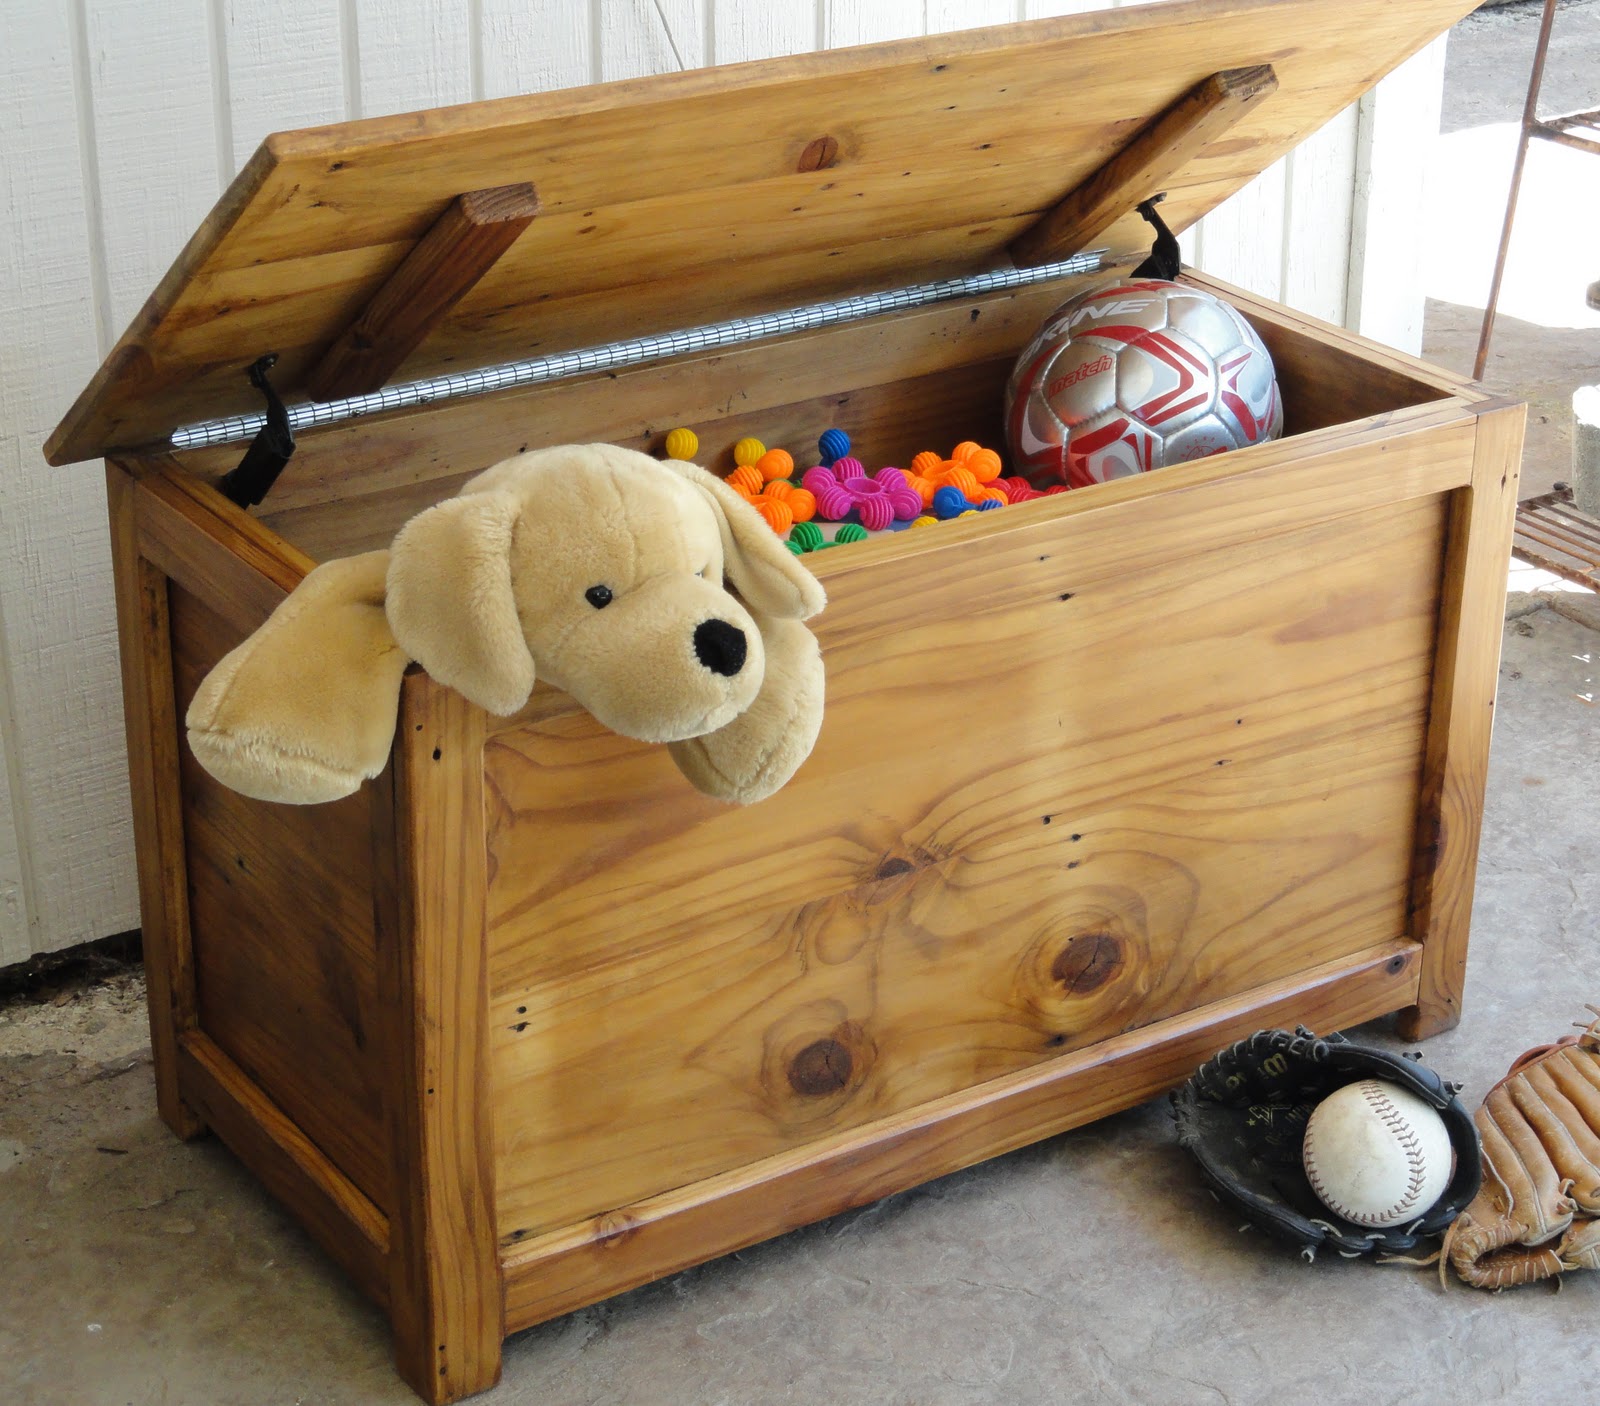
10. Time for the Big Reveal!: Voila! Your personalized wooden toy box is ready for its grand debut. Fill it with all the toys and treasures your kids will love!
Tips for Making Your Toy Box Even More Special:
Personalize it: Paint your child's name or initials on the box. You can even draw a fun picture or design.
Get creative: Add some extra features, like a built-in seat or storage compartments.
Choose the right wood: Consider the weight and durability of the wood when choosing your wood type.
Safety first: Make sure all edges are smooth and there are no sharp corners.
Enjoy the process: Don't rush! Take your time, have fun, and enjoy the satisfaction of creating something special for your kids.
Building a wooden toy box is a fantastic way to connect with your children and create something truly unique. It's a fun project that everyone can enjoy, from start to finish! Remember, you can always adapt this guide to your own needs and create a toy box that perfectly reflects your family's style and preferences.


0 comments :
Post a Comment
Note: Only a member of this blog may post a comment.