Woodworking magic box: diy build plans & instructions
Alright, woodworking buddies, get ready to channel your inner sorcerer with a DIY magic box! This isn't just any ordinary box; it's a gateway to wonder, a vessel for illusions, and a testament to your crafty skills.
Let's dive into this enchanting project, shall we?
Materials You'll Need:
Wood: You'll need some good quality plywood or hardwood for the box itself. Aim for at least 1/2 inch thick for stability.
Hinges: Choose durable hinges for the lid, preferably brass or metal.
Catch: A small, sturdy latch or catch to keep the box securely shut.
Wood Glue: A good quality wood glue is essential for strong joints.
Wood Filler: For any imperfections or gaps, a wood filler can help you achieve a smooth finish.
Sandpaper: You'll need various grits of sandpaper for smoothing and finishing.
Finishing Supplies: Choose your favorite wood stain, paint, or varnish to give your magic box a unique look.
Optional Extras: Let your imagination run wild! You can add elements like decorative hardware, secret compartments, or even tiny LED lights for an extra magical touch.
Tools:
Miter Saw: You can use a circular saw or jigsaw as well, but a miter saw makes cutting precise angles easier.
Drill: For drilling pilot holes and attaching hardware.
Screwdriver: Essential for securing the hinges and catch.
Clamps: For holding the box together while the glue dries.
Measuring Tape: Crucial for accurate cutting and assembly.
Pencil: For marking your cuts and measurements.
Time to Design Your Spellbinding Box:
1. Envision Your Masterpiece: Before grabbing your tools, visualize your magic box! Do you want it classic and elegant, sleek and modern, or maybe a little whimsical? Choose a style that resonates with your magical personality.
2. Plan Your Dimensions: Decide on the size of your box. Consider what you might store inside. If you're planning secret compartments, factor that into your design.
3. Sketch it Out: Don't be shy to grab your pencil and paper. Sketch out your design, including the box's overall dimensions, the lid, and any special features you've got in mind.
Building the Box:
1. Cut the Pieces: Using your miter saw (or other cutting tools), cut out the box sides, base, and lid pieces according to your measurements.
2. Sanding Symphony: Smooth out any rough edges with your sandpaper. This will make assembly easier and ensure a polished final product.
3. Secret Compartments (Optional): If you're adding secret compartments, now is the time to build them. You can create hidden compartments inside the box's base or lid, or even a false bottom.
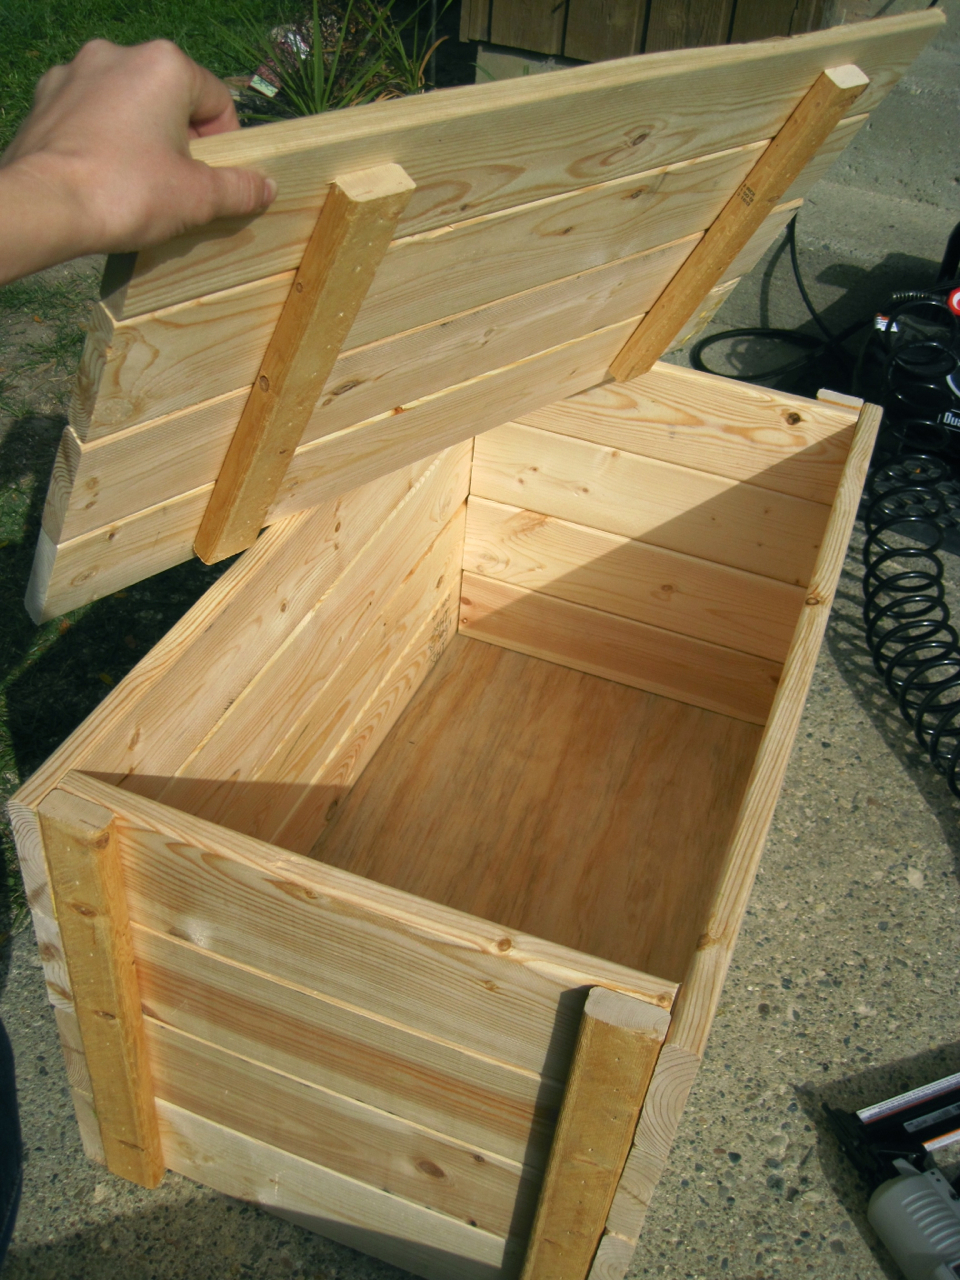
4. Assembling the Magic: Apply wood glue to the edges of the box pieces and carefully assemble them, ensuring the corners are aligned. Clamp them together until the glue dries completely.
Finishing Touches:
1. The Lid's Unveiling: Attach the hinges to the lid. You can choose a traditional top-hinge design or get fancy with side hinges for a unique effect.
2. Securing the Mystery: Install your chosen catch or latch. Ensure it's secure enough to keep the box closed but not so tight that it's difficult to open.
3. Wood Filler Magic: Fill any gaps or imperfections with wood filler. Let it dry thoroughly, then sand it smooth.
4. The Final Transformation: Time to unleash your creative flair! Stain, paint, or varnish your box according to your chosen style. Let the finish dry completely.
Adding the Magical Spark:
1. Secret Compartments: If you've added secret compartments, make sure they're cleverly hidden! You can create false bottoms, hidden drawers, or even a hidden compartment behind a movable panel.
2. Illusions and Tricks: Consider incorporating tricks or illusions into your box. You could make a compartment that seemingly disappears or a mechanism that creates a visual surprise when the box is opened.
3. Decorative Hardware: Add decorative hinges, clasps, or handles to enhance the magical ambiance.
4. LED Lights: For an ethereal glow, integrate tiny LED lights into the box's interior. These can be powered by batteries or a small circuit, adding a magical touch when the box is opened.
Now, for the Grand Reveal:
It's time to unveil your masterpiece! Fill your magic box with trinkets, small treasures, or even a few magical spells! Use it to store your most cherished belongings, perform illusions, or simply add a touch of enchantment to your everyday life.
Remember: This is just a starting point! Let your imagination guide you. Experiment with different designs, materials, and techniques to make your magic box truly unique. Have fun with it, and let your creativity flow like the magic you're creating!


0 comments :
Post a Comment
Note: Only a member of this blog may post a comment.